The Client Profile in XenDirect records key information for each client, whether referred to as students, participants, trainees, or by another term. This guide details the eleven panels in the Client Profile, their purpose, and the field details, allowing for effective management of client data.
Navigation:
Main Menu → Clients → Application
Applies To: Enterprise, Plus, Basic
Overview of Panels
The Client Profile is divided into eleven panels. The Information Panel can be customized to include fields from other panels using Custom Field Displays.
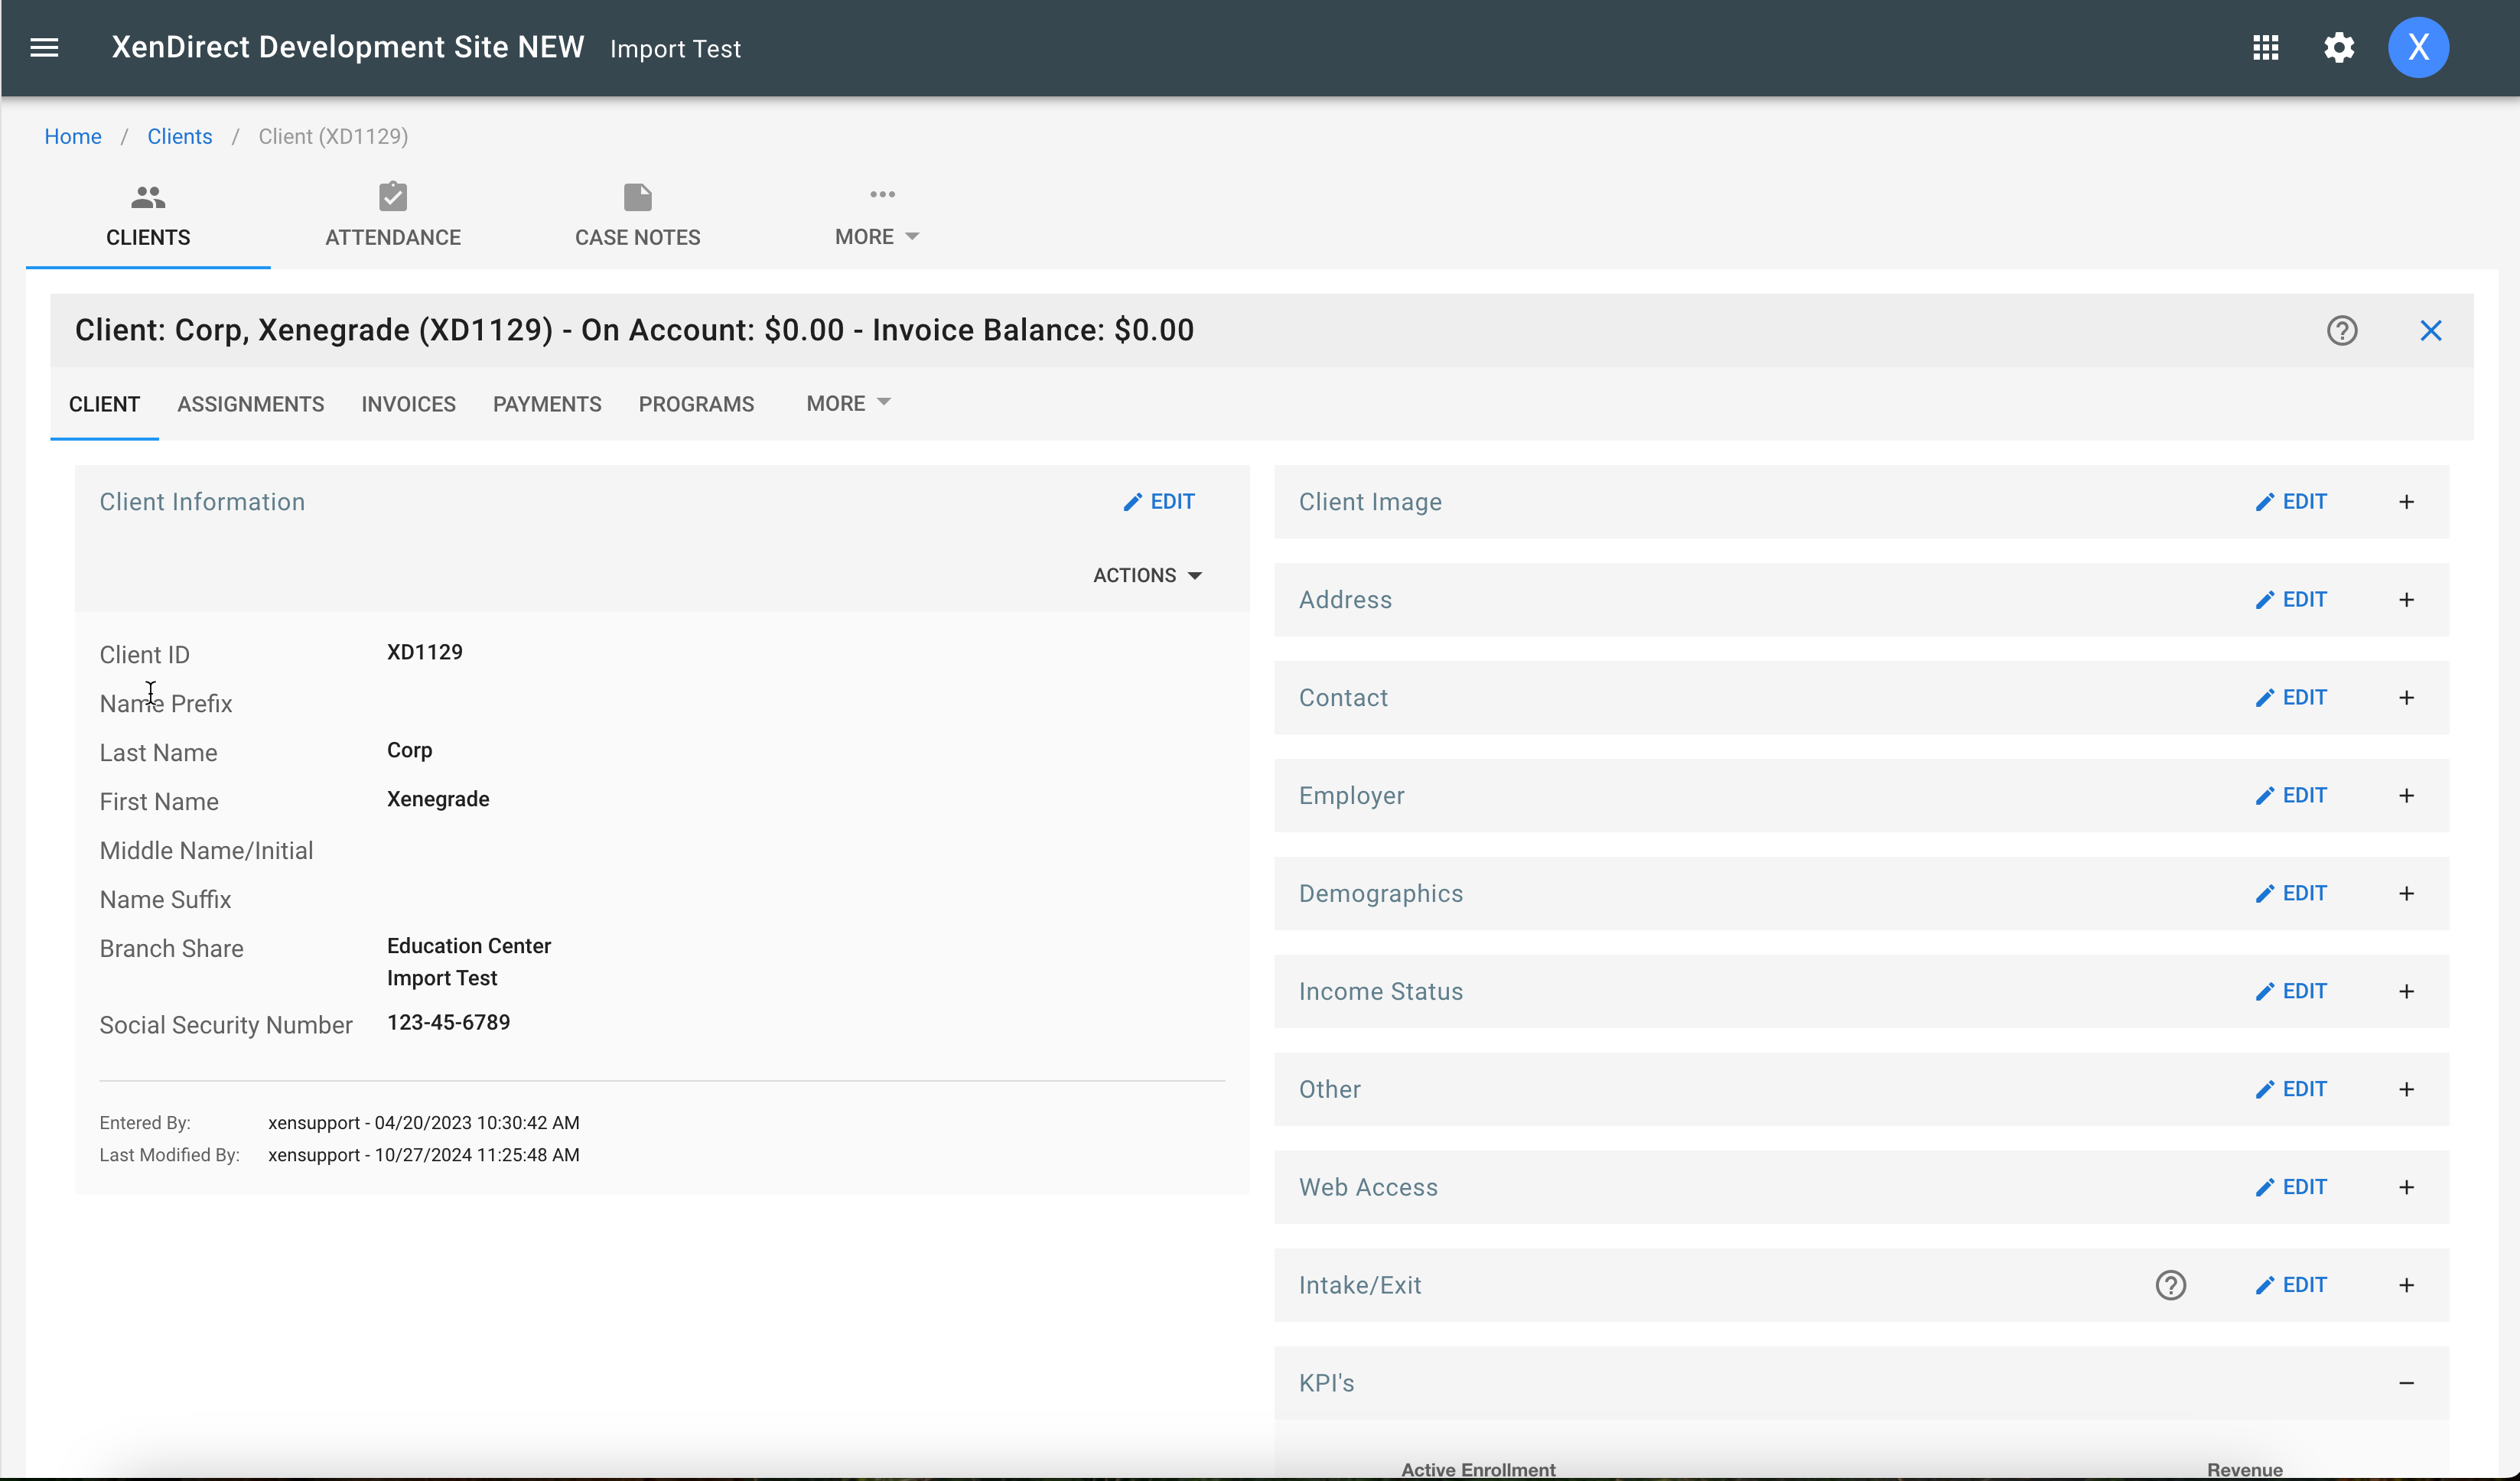
1. Contact Information Panel
-
Client ID: A unique identifier for each client.
- Enter manually or use the Auto Generator.
- Accepts only letters, numbers, and dashes.
- Required field. Cannot be duplicated.
- Client Name: First, Middle, and Last Name fields must not contain a # sign.
-
Social Security Number (SSN):
- Pre-formatted; hyphens are auto-inserted.
- Cannot be duplicated.
- Format options are found in Branch Profile > Preferences.
- Branch Share: Associates the client with one or more branches. The Client Profile is shared across branches.
2. Client Image Panel
-
Image Upload:
- Use Choose A File to upload or Delete to remove the file.
- Click the file name link to view the image.
- May require additional storage purchase.
3. Address Panel
- Fields: Mailing (default), Home, Work, Billing.
-
Same As: Copies address fields from another source address.
- Overwrites the target address when saved.
- Works best if the source address is saved first.
- Mailing Preference: Determines the address displayed on reports and labels.
4. Contact Panel
-
Email Addresses:
- Two fields: Primary (Email) and Secondary (Email2).
- Email messages are sent to the primary address and CC’d to the secondary.
-
Permitted Marketing Methods:
- Clients can opt-in/out via their MyAccount in WebReg.
- Automated confirmation emails are excluded from marketing preferences.
5. Employer Panel
-
Fields:
- Company (selected from records)
- Department
- Job Title
- Work Area (selected from records)
- Profession (selected from records)
6. Demographics Panel
- Contains demographic and educational background fields.
7. Income Status Panel
- Includes income, wage, and employment history fields.
- Note: This data is stored in a separate table but displayed in the Client Profile.
8. Other Panel
-
Fields:
-
Client Type: Individual or Corporate.
- Corporate enables quantity values in the Assignment area.
- Stop/Hold: Displays warnings during assignments (e.g., overdue payments, bad checks).
- Credit Limit: Sets maximum billing allowed via WebReg.
- Bank Details: For regular payment withdrawals.
- Client Merge ID: Reserved for merge workflows.
-
Client Type: Individual or Corporate.
9. WebAccess Panel
-
User Name: Used for WebReg login.
- Passwords are encrypted and cannot be modified/viewed in the Admin module.
- Clients reset passwords via Forgot Password in WebReg.
10. Intake/Exit Panel
- Includes intake and exit/termination fields.
11. KPI Panel
- Displays key performance indicators.
Messages and Prompts
- Duplicate Client ID/SSN: Prompts if these fields already exist.
- Duplicate Client: Prompts if the Last Name and Birth Date match another record.
- Delete Client: Deletion is allowed only if no related records exist in other tables (e.g., assignments, payments).
Fix Case
Applies Title Case formatting to:
- First Name, Middle Name, Last Name
- Mailing Address 1 and 2
Definition of Title Case: Capitalizes the first letter of each word, with the rest in lowercase.
Conclusion: This guide ensures efficient navigation and management of the Client Profile in XenDirect. For further assistance, refer to related resources or contact support.